


Auto body moldings, made from materials like plastic or metal, enhance vehicles' exterior beauty and protect body panels. They come in various types, with paintless dent repair moldings popular for restoration. Replacing damaged moldings is a common repair, benefiting both car owners and auto shops by streamlining processes, reducing downtime, and lowering costs. This guide offers a systematic approach for DIY molding replacement, emphasizing safety precautions, tools, and alignment verification for effective collision repairs while enhancing vehicle aesthetics.
Auto body moldings, also known as trim pieces, are essential components that enhance a vehicle’s aesthetic appeal. They come in various types and materials, from plastic and metal to fiber-glass and carbon fiber. This article explores the benefits of easy-to-install and replace auto body moldings, offering a step-by-step guide for DIY enthusiasts. Learn how these versatile trim pieces not only improve your car’s look but also provide practical advantages in terms of customization, repair, and cost-effectiveness.
- Understanding Auto Body Moldings: Types and Materials
- Benefits of Easy-to-Install and Replace Moldings
- Step-by-Step Guide: Installing and Replacing Auto Body Moldings
Understanding Auto Body Moldings: Types and Materials

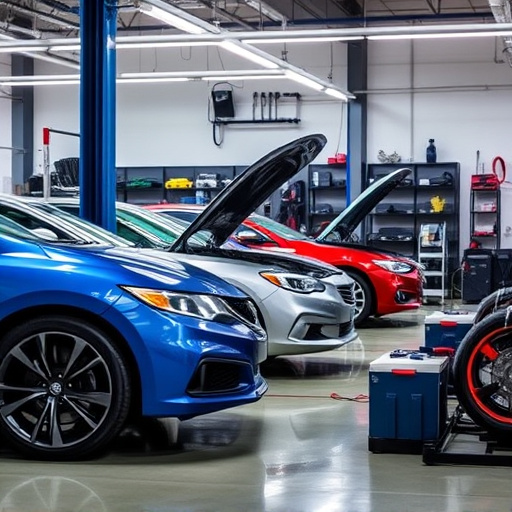
Auto body moldings are essential components that define a vehicle’s exterior aesthetics. They come in various types, each serving unique purposes, from enhancing the car’s styling to protecting its body panels. Typically made from durable materials like plastic, metal, or composite substances, these moldings can range from simple, trim pieces around doors and windows to more complex designs, such as fender flares or side skirts. Understanding the different types and materials available is crucial for both car enthusiasts looking to customize their vehicles and automotive professionals executing repairs.
Among the popular choices in auto body moldings are those associated with paintless dent repair, which offers a seamless restoration without the need for repainting. Autobody repairs often involve replacing these moldings, especially when damaged or faded, to restore the vehicle’s original look. Many car repair shops stock a wide array of replacement parts, ensuring an easy and efficient installation process that can enhance the overall appearance of a car.
Benefits of Easy-to-Install and Replace Moldings

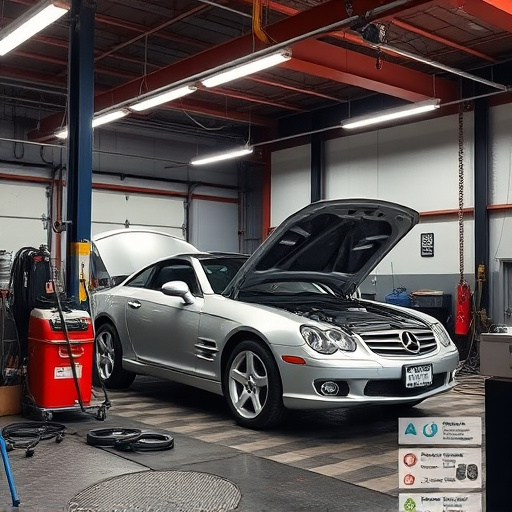
The benefits of easy-to-install and replace auto body moldings are numerous, especially for both car owners and auto repair shops alike. Firstly, this feature simplifies the process of repairing and restoring vehicles, particularly those involved in minor collisions or needing routine maintenance. Instead of lengthy and labor-intensive processes, these moldings allow for quick swaps, reducing downtime and repair costs significantly. This is a game-changer for busy auto repair shops, such as Mercedes Benz collision repair centers, aiming to maximize efficiency without compromising quality.
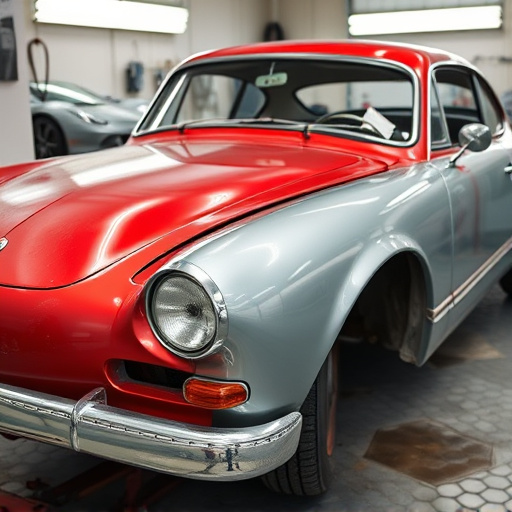
Moreover, the ease of installation enables car owners to take on simple repairs themselves, saving them time and money. For those who appreciate a personalized touch or want to maintain their vehicle’s aesthetic appeal, being able to replace moldings independently offers a sense of control and flexibility. This is particularly beneficial for luxury vehicle repair, where maintaining the car’s original look and value is paramount.
Step-by-Step Guide: Installing and Replacing Auto Body Moldings

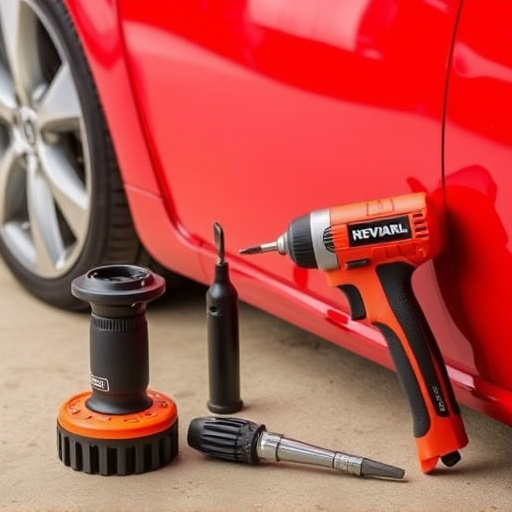
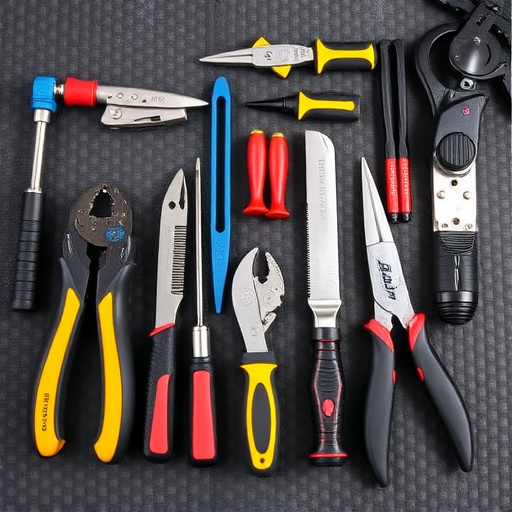
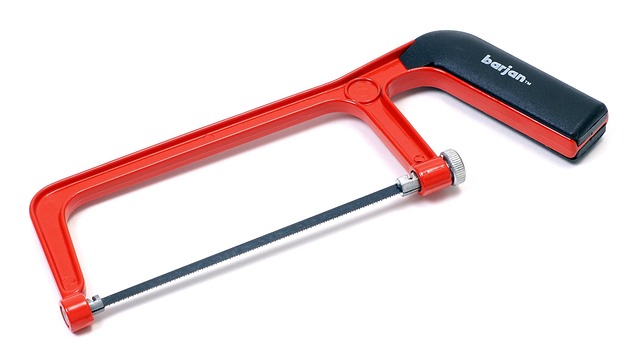
Installing and replacing auto body moldings is a straightforward process that can be accomplished with some basic tools and knowledge. Begin by gathering all necessary components, including new moldings, removal tools (like plastic breakers or suction cups), and replacement hardware such as screws or clips. Park your vehicle on a level surface and engage the parking brake for safety. Next, locate the specific molding to be replaced—whether it’s a fender, bumper, or other trim piece—and gather the necessary tools tailored to its design.
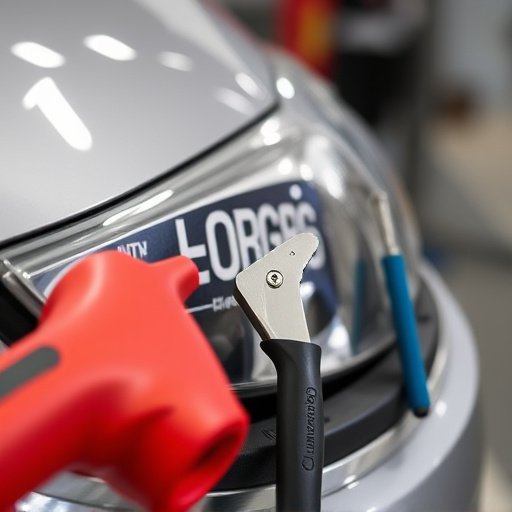
Start by removing any existing fasteners securing the old molding using a suitable tool for the job. Carefully pull away the damaged or worn-out molding, taking note of how it was attached. Once removed, inspect your vehicle’s body panel for signs of damage or misalignment that may require repair before installing the new molding. Clean the area thoroughly to ensure a solid bond with the replacement piece. Finally, attach the new auto body molding using the appropriate hardware and tools. Secure all fastenings tightly and verify the molding’s alignment and fit before moving on to any adjacent trim pieces for a seamless finish. This step-by-step approach ensures quick and effective fender repair, bumper replacement, or collision repair services, enhancing your vehicle’s aesthetics.
Auto body moldings, with their diverse types and materials, offer significant benefits when it comes to easy installation and replacement. As discussed, these components not only enhance a vehicle’s aesthetics but also protect its body from damage. By following a straightforward step-by-step guide, car owners can efficiently install or replace moldings on their own, saving time and cost. This do-it-yourself capability makes auto body moldings a practical and accessible option for maintaining and personalizing one’s vehicle.